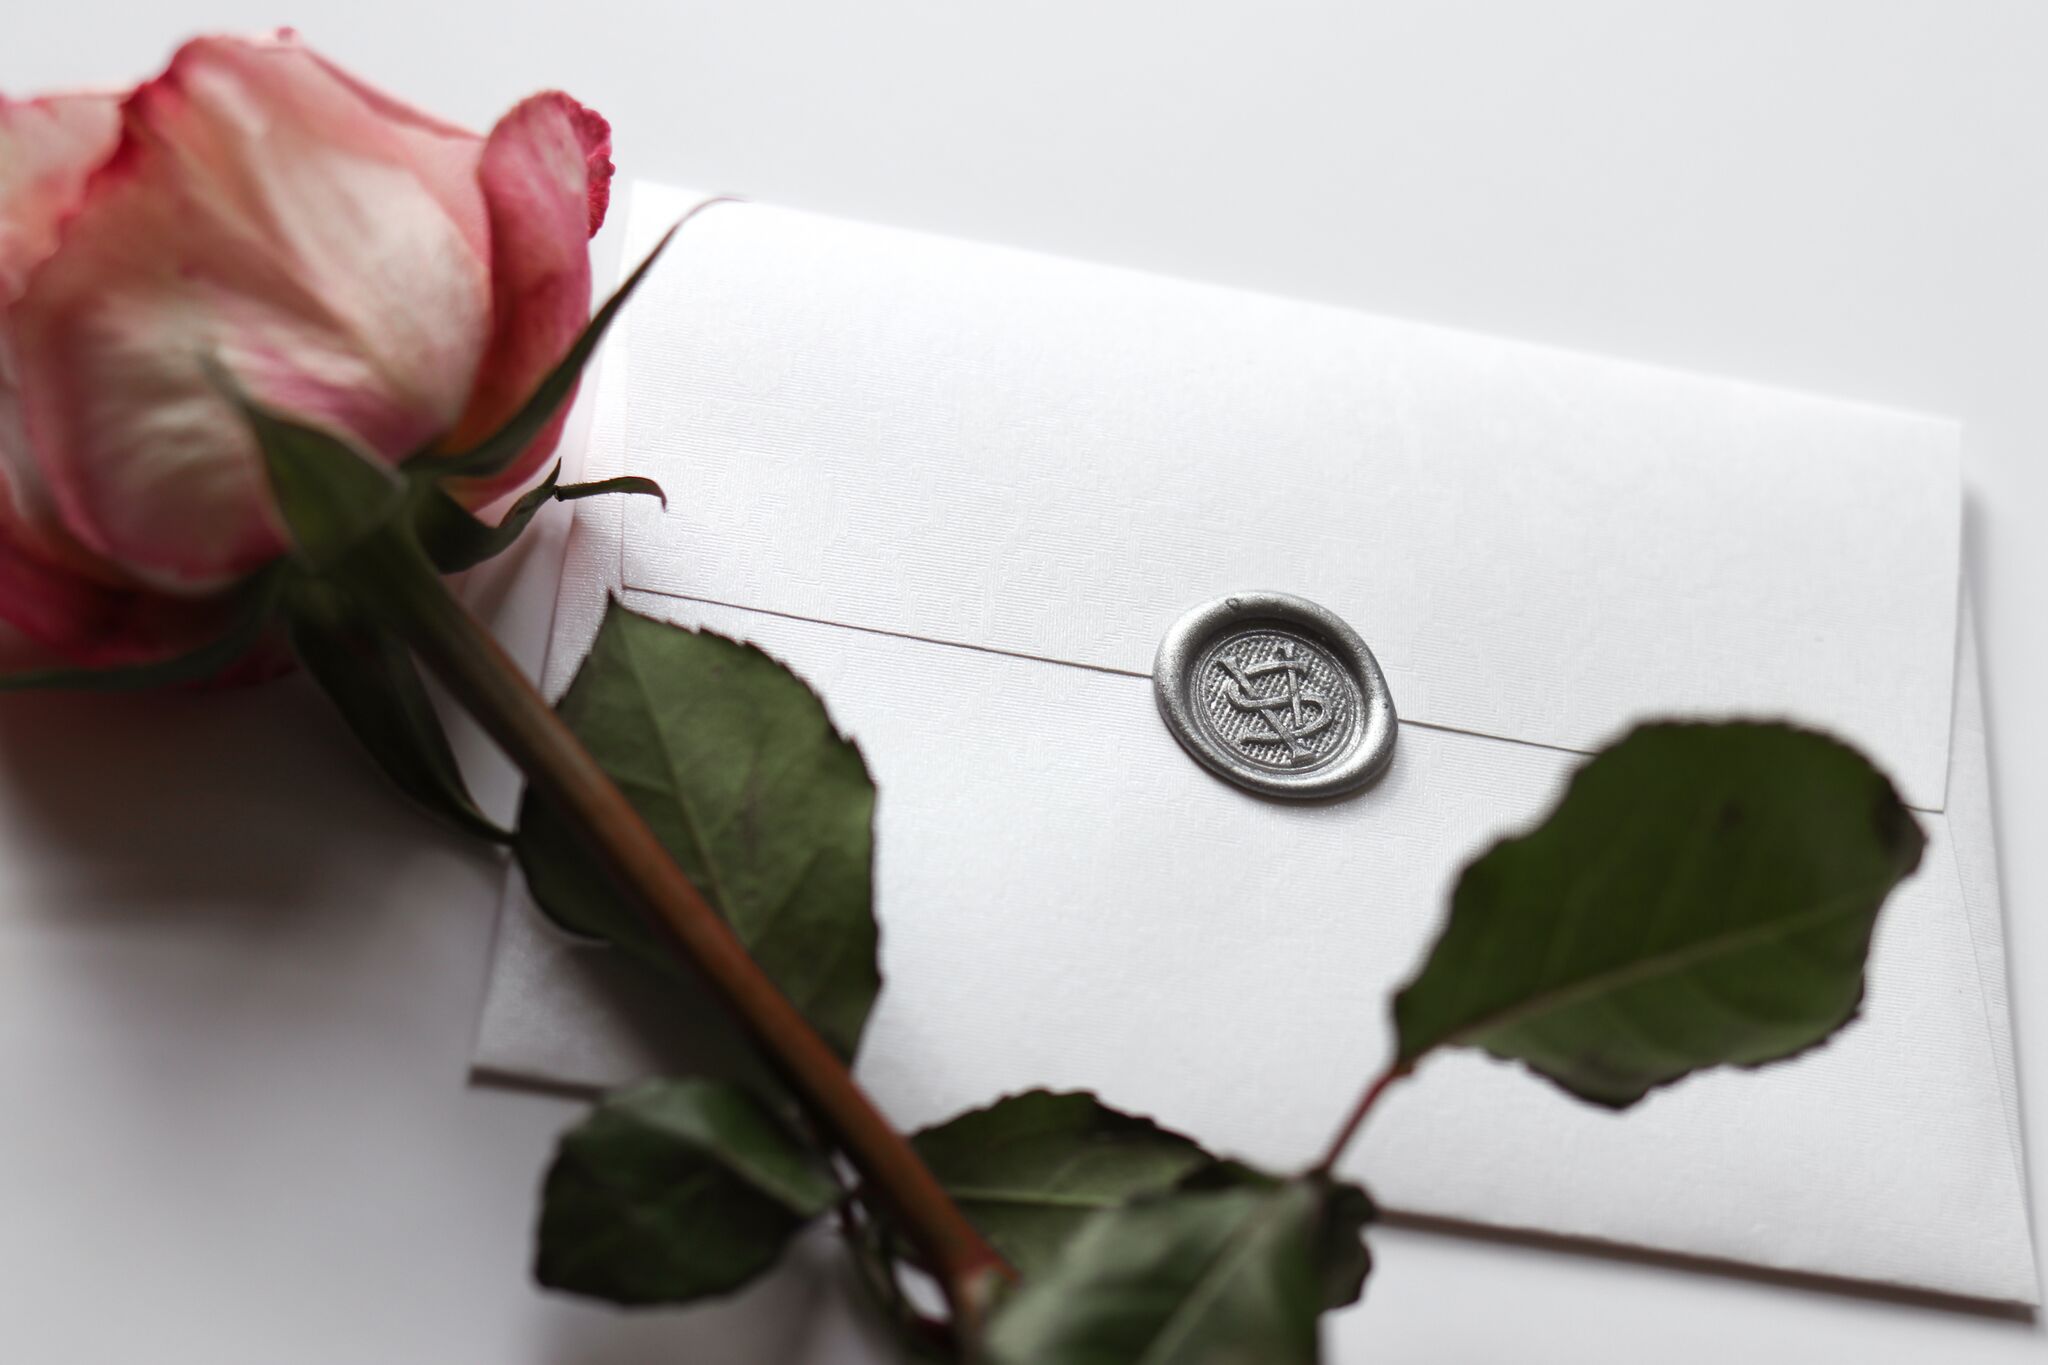
Many centuries after their first use, wax seals still remain a stationery adornment favourite for all of us detail-lovers – and for good reason! The magic of opening a letter and seeing the shimmer of a custom seal, graceful and precise, in seamless harmony with the paper, is simply breathtaking. Here at Ananya we absolutely adore embellishing our suites with unique seals, individually crafted for weddings, parties, or corporate events, and we’re so looking forward to creating many more this year.
Today we've teamed up with London wedding stylist and planner Valentina from The Stars Inside to bring you a definitive guide: if you love these little beauties as much as we do, and you would like to know more about how they work, what the options are, and how you can use them to wow your guests, read on!
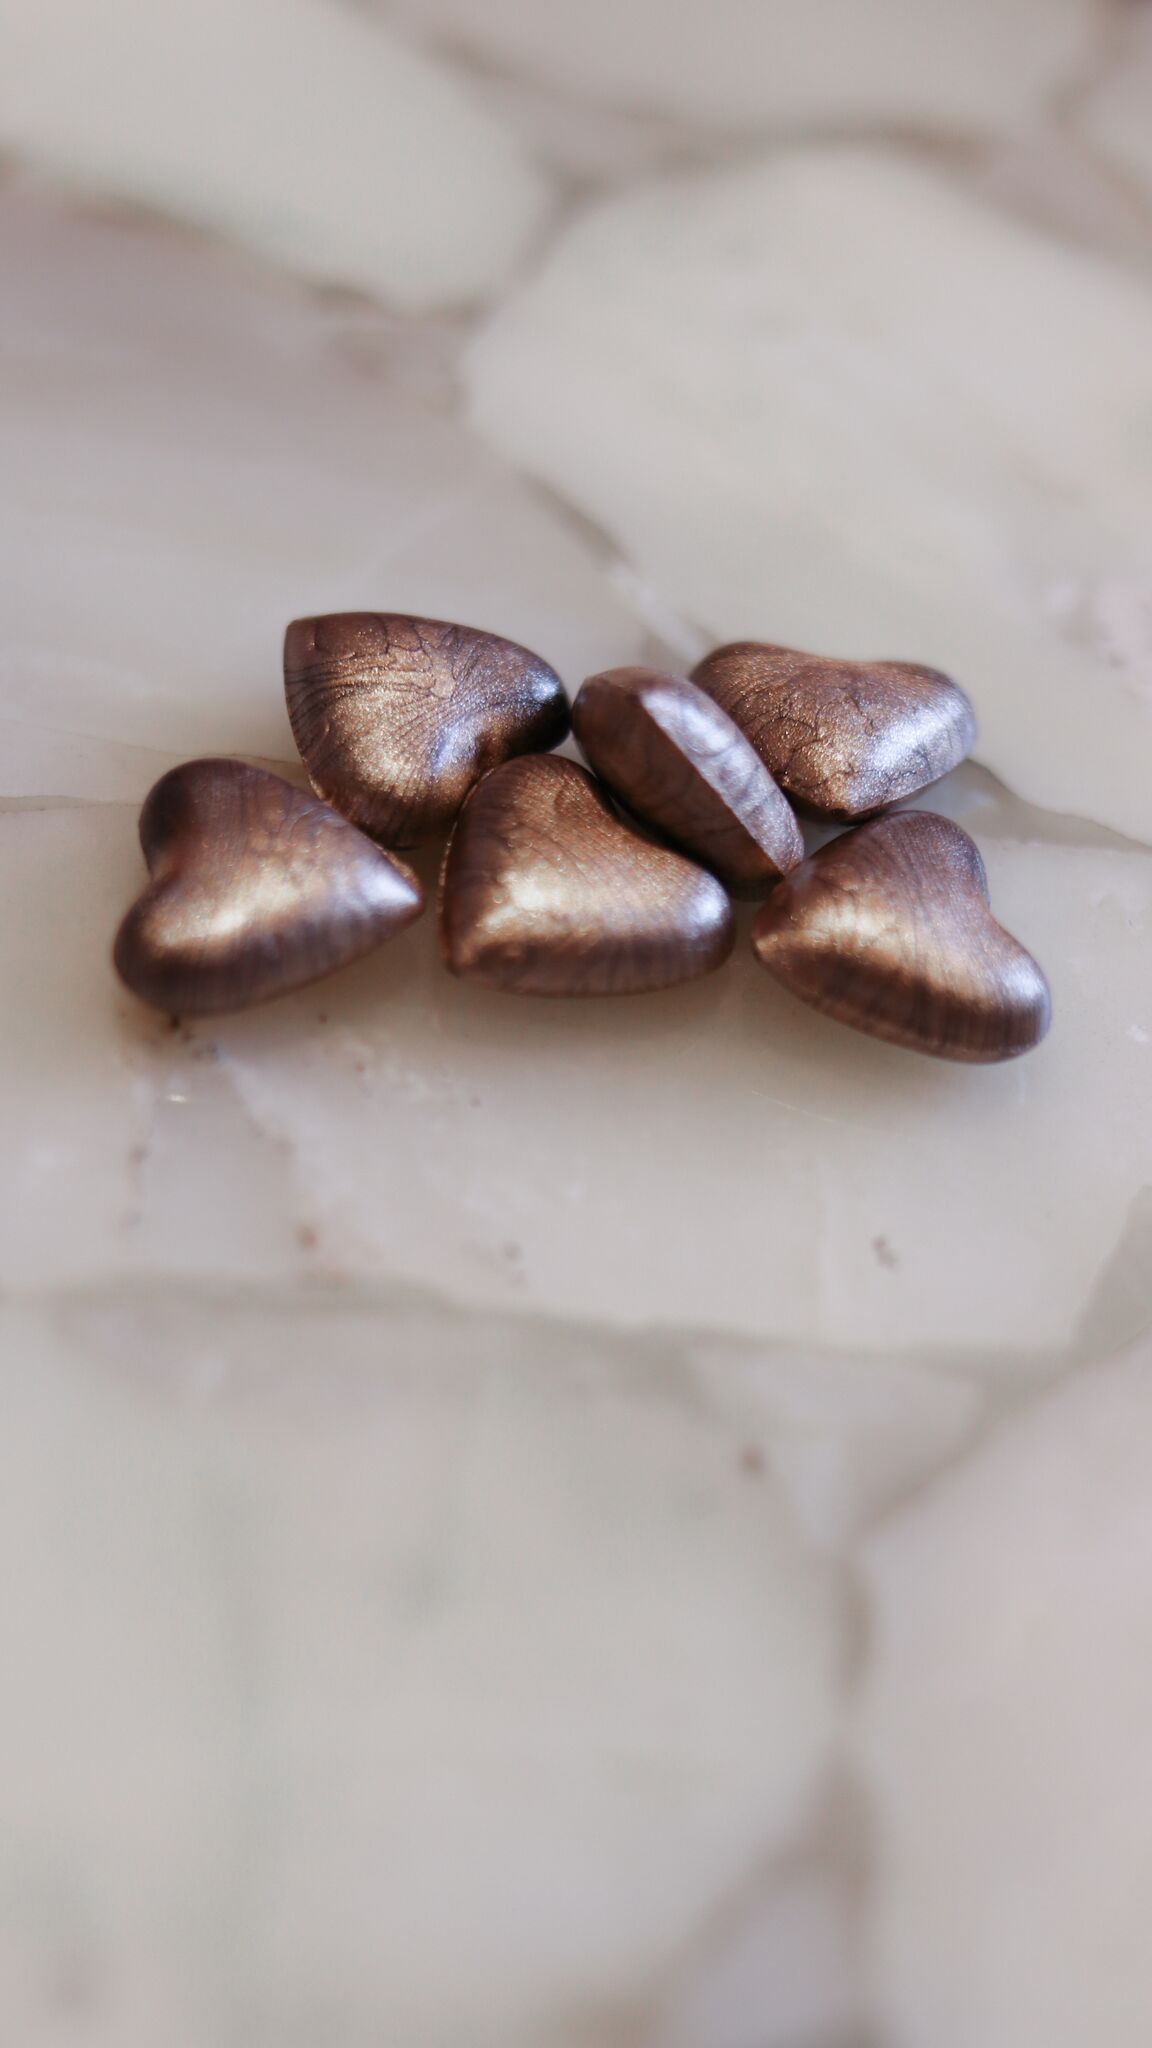
So, how do wax seals come to life? It all starts with the sealing wax, which itself can come in many varieties. The colour of your wax may be the first thing you want to think about, and these days you will find yourself wonderfully spoilt for choice! Matt, basic colours will generally be the cheapest, while more unique or metallic colours may come at a small premium. Shop around, as sometimes international stockists will be able to provide you additional choices at a reasonable shipping cost. Also, as we'll mention a bit later, you can combine several colours to create unique swirls of complementary or contrasting tones.
You can choose to use wax sticks, wax beads, or wax ‘tubes’, which will in turn determine how the material needs to be melted. Wax sticks are the most traditional form, and require you to expose the stick directly to a naked flame, and let it drip over the area you intend to seal (some have wicks, some don’t); this method doesn’t require any special tools, but can be quite imprecise, messy and time consuming. This is also the wax type that is most brittle and thus breaks most easily, and is most likely to crack if squeezed through a post box (beads and tubes tend to be slightly more plasticky and bendy in structure). Wax beads are essentially pieces of these sticks, pre-cut for you into small shapes because of their size. They can be melted by simply placing a group of them on a wax melting spoon over a flame; kits for this can be bought easily online, and re-used for as long as you keep them in good condition. The use of the spoon means that you can pour homogeneously melted wax more carefully in the chosen area, which makes this significantly easier than dripping wax slowly from the stick. Also, you can create a ‘chain’ whereby the next set of beads is melting as you seal, meaning you can more quickly do a larger number of these. Another reason why this technique is our favourite is that different colour beads can easily be combined in different quantities and ratios, making this very customisable and fun. Wax tubes are designed specifically to be used with glue guns, which limits your options a little bit – but can be melted very precisely and quickly, which is immensely useful when stamping a large number of seals.
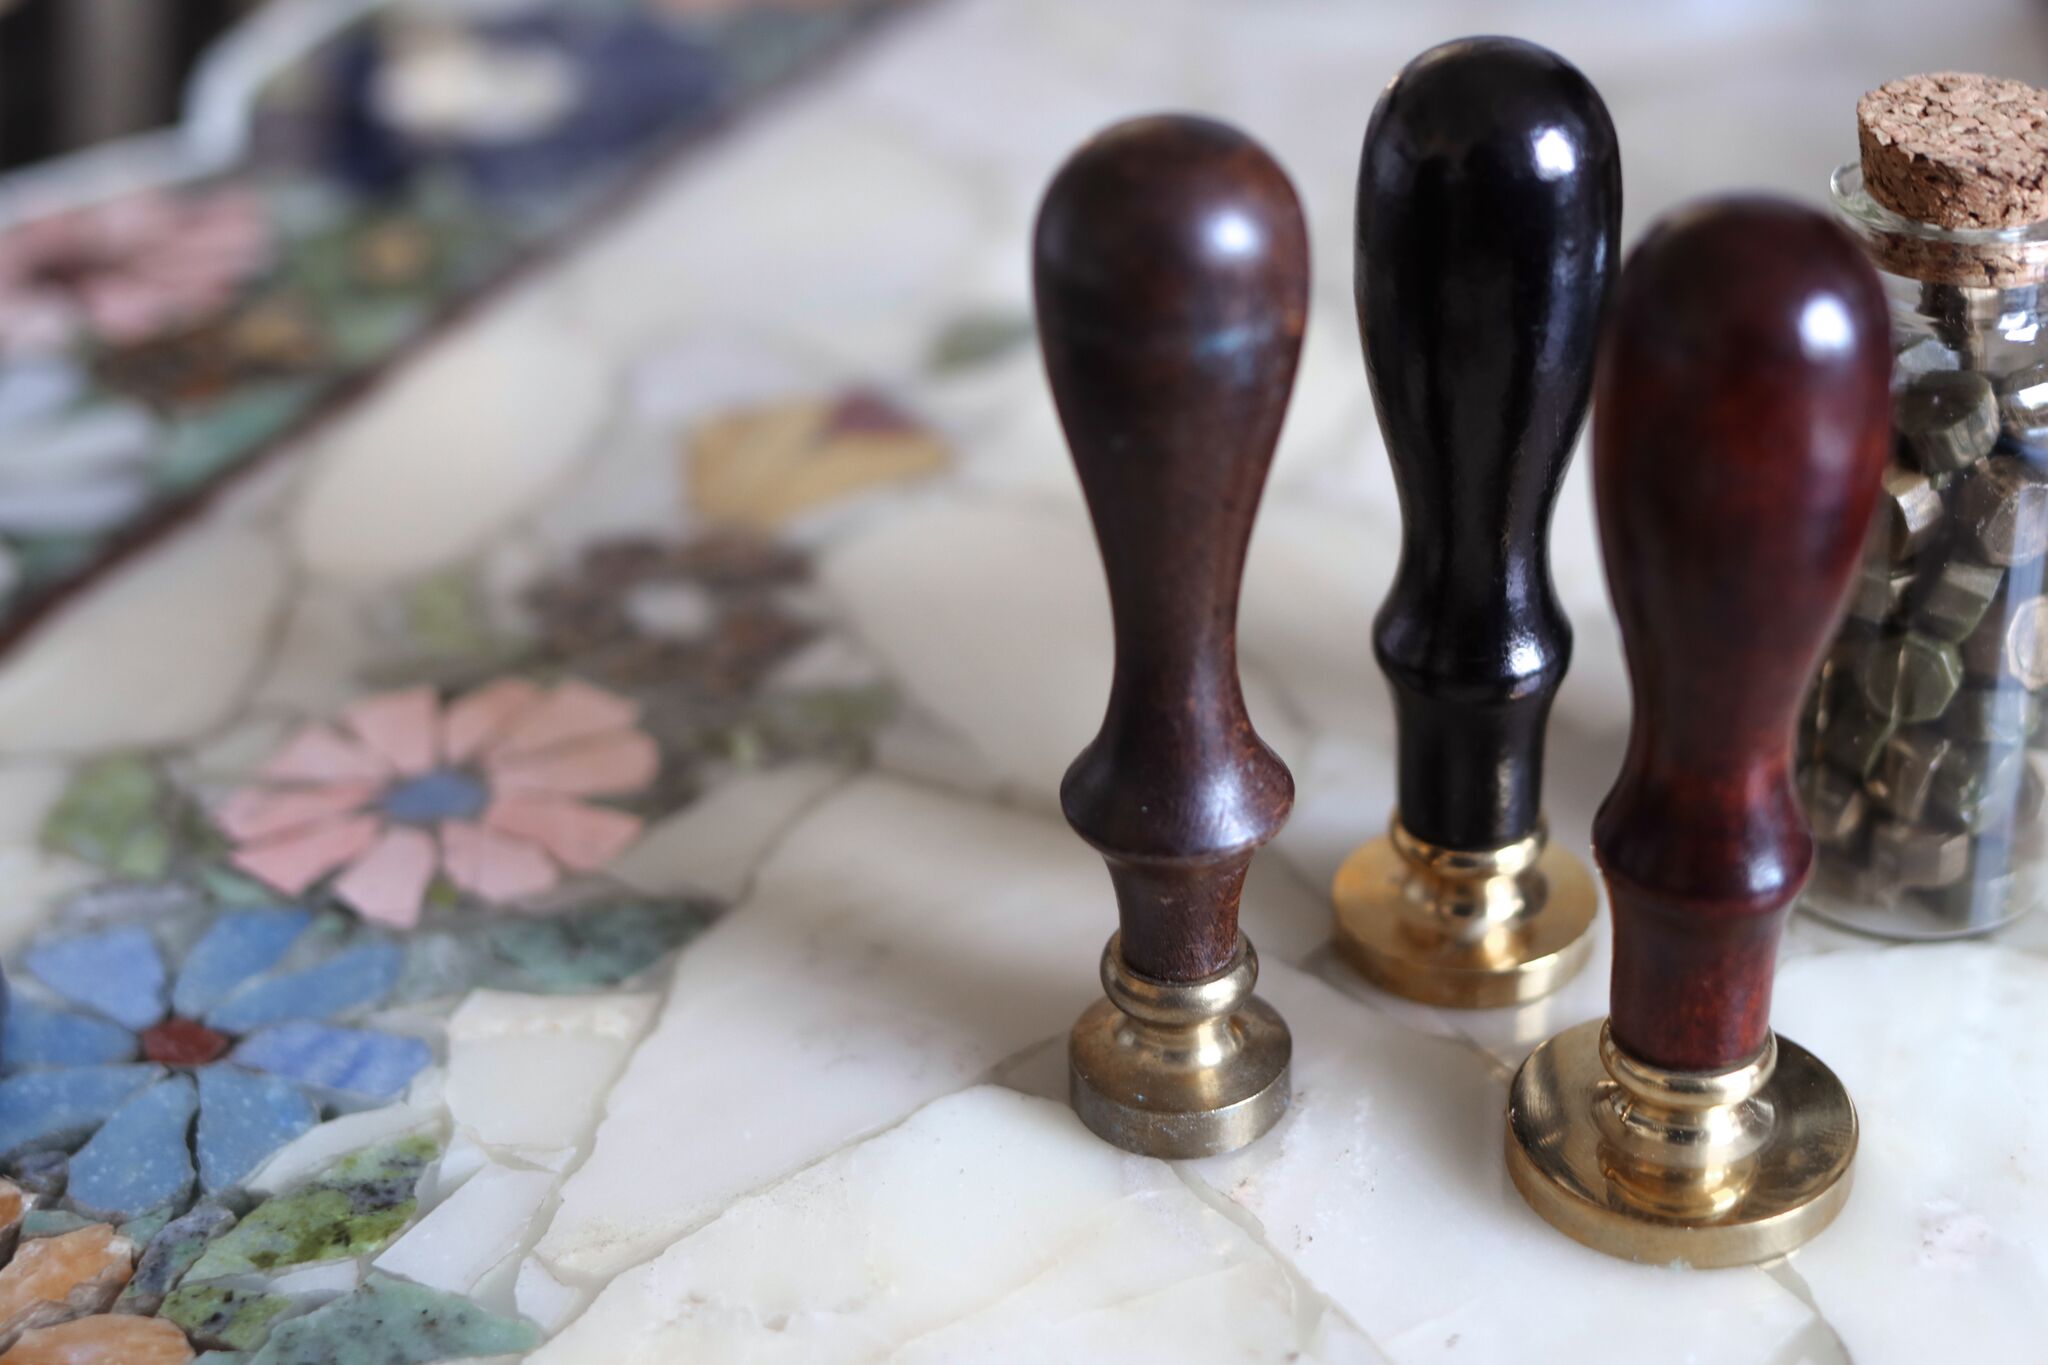
The next element to think about is the stamp, which essentially will be the design you will be imprinting on each of the seals. A typical wax stamp has a wooden handle and a round metal surface with indentations that will be filled by the wax, thus leaving an impression of the engraving. As with wax colours, the choices here are endless! Many shops now stock a beautiful selection of pre-designed stamps that you can browse – for weddings, there are many floral, botanical, and romantic designs readily available. Another option is to have a monogram, for example, of you and your partner's initials, or the date of your wedding. Finally, you could choose a completely bespoke design, which includes maybe both letters and an illustration. These latter two options are more personalised than an off-the-shelf design, so you may need to purchase this with a bit more notice, and be prepared to spend a little bit extra. When ordering your stamp, make sure it comes with a handle, and do pay attention to the diameter: the wider it is, the more generous you will need to be with the quantity of wax, in order to ensure full coverage of the design. Similarly, square stamps will also require the wax to be melted more widely in order to fill the shape adequately.
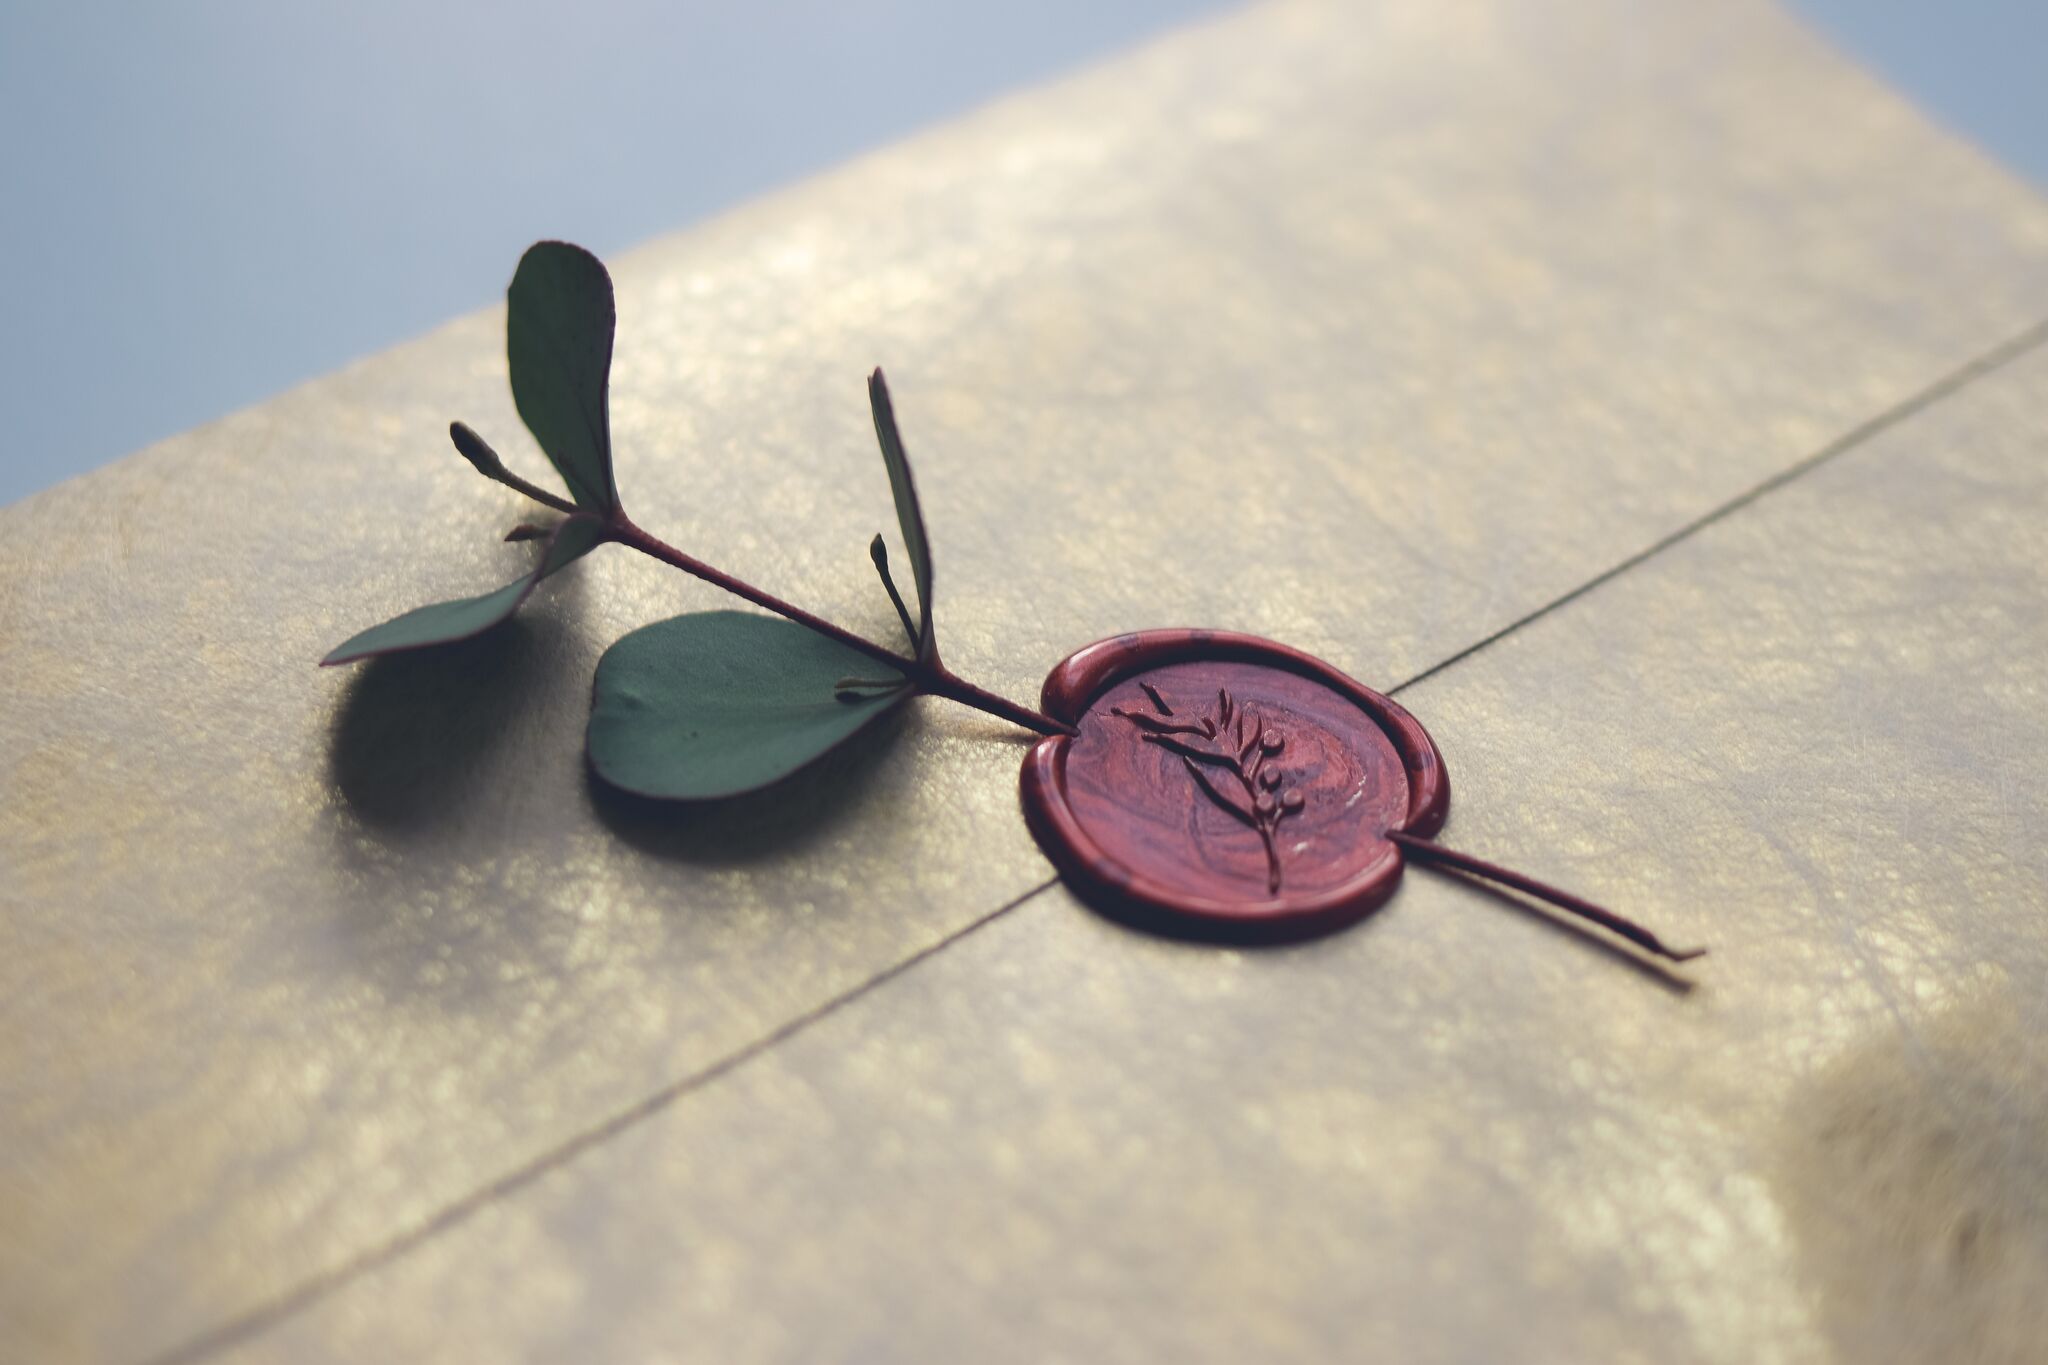
The final element is the medium on which you will be creating the seal. Typically, the wax is used to seal the flap of an envelope containing, for example, your Save The Date or Invitation suite. If posting these by mail, especially internationally, you may want to consider placing the inner envelope with the wax in an outer envelope, for some extra protection. However, this is only one of the many ways wax can be used to decorate stationery; some other favourites we see a lot now are, for example, to use it to seal together all the elements of a suite, via a belly band or ribbon, or to decorate individual place cards or escort cards. In truth, the wax can be placed on any part of your paper, though do keep in mind that there can be some leakage on the back if the paper is too thin; if you have special printed elements like foil or hand-illustrated designs, make sure to test one carefully when you start! And if you want to explore more ways of using seals, you certainly don’t need to stick to paper – wax seals could be used to decorate wine bottles, jars, favours, and even your cake! In fact, you can easily create versatile ‘standalone’ seals by melting lots of seals side by side on wax paper, peeling them off, sticking double-sided adhesive paper to the back, and using them on whatever you wish!
Whichever type, method, and medium you choose, the aim is to end up with a roughly circular ‘blob’ of wax (consider tracing an area with pencil to help you target your first ones). Melt the wax thoroughly, pour it, and before it dries, press down the stamp firmly in a smooth downward motion, without wobbling side to side. Let the wax cool and harden for 5-10 seconds, and start gently lifting the stamp from one side; if the stamp is still sticking, give it time, and tease it out slowly from each side. To prevent the metal of the stamp sticking to the wax as much as possible (which is especially important for designs with intricate detail or fine lines), you can create a barrier of moisture by dabbing your seal on a damp cloth before imprinting it on the wax. Leave it to dry completely before placing any weight on it, or letting it come into contact with anything else, just to be safe.
We hope this guide has been useful! If you would like to discuss your wedding stationery, don’t hesitate to reach out to us here at Ananya – and if you’d like any help with your wedding planning and styling, Valentina at The Stars Inside would love to hear from you!
Vaishali and Valentina x
